This article takes on establishing the carving outline and relief of leaf shapes on the bowl surface. If you missed the first part of creating this bowl, you need to read about the genesis of this bowl, found here. Summarizing, I wanted to do a simple platter or bowl embellished with carving. Since this is a Maple bowl, what better subject to carve but Maple leaves?
In the original article, the method of laying out the pattern was described in detail. The goal for today is to have each leaf outlined to a specific depth, and any waste wood removed to the relief depth. We’re extruding the leaf outline down to the depth of the to-be-established background depth. Think of cutting out the two-dimensional pattern that will later be carved into a three-dimensional object.
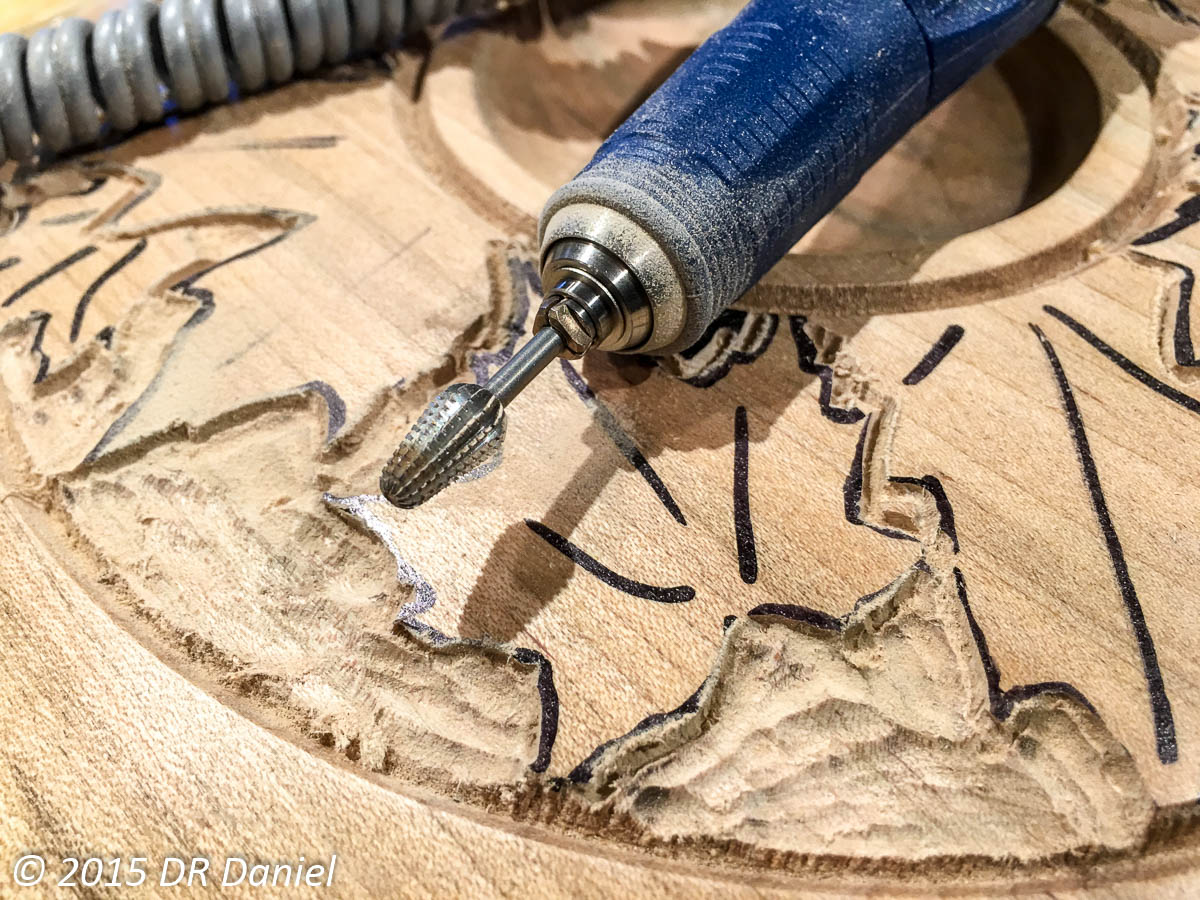
 Grabbing a clean dust mask, a fine burr is used to outline each leaf as shown here. Leave plenty of room and work your way up to the line. Be careful, you can’t add the wood back in if the tool dances off in the wrong direction.
To help control the cut, I create a tripod with my two outer-most fingers pressing onto the wood, and my left thumb on the base of the carver. The final leg is the burr contacting the wood. This gives very fine control of the cut. Coupled with the very high speed of the carver, it will follow your direction rather than marching off across your piece. The picture above is missing my left hand in proper carving position in order to show the actual cut being made.
 To control the piece, I’ve come up with a few ways to hold it in place. For this particular piece, I’m carving it on my lathe bed. I purposely left the tenon used to shape the bowl (more for the possible need to rework the face after a big mistake). The tenon fits perfectly between the bed ways, giving a nice, secure hold while still allowing for easy rotation. For a conventional bowl, use a sandbag as a holding bed instead. Since we aren’t pounding chisels into the piece, we don’t need a solid attachment or mount to hold the piece.
 Back to the carving: the next step is to use a larger burr to remove some of the waste material. This will provide clearance for deeper outlining cuts coming up next. Work slowly and remove the material to just below the depth of the outlining cuts. Once completed, return to the fine burr and continue to outline the shapes to the full depth – approximately 10mm. Once outlined, return with the coarse burr, removing the waste to the desired depth.
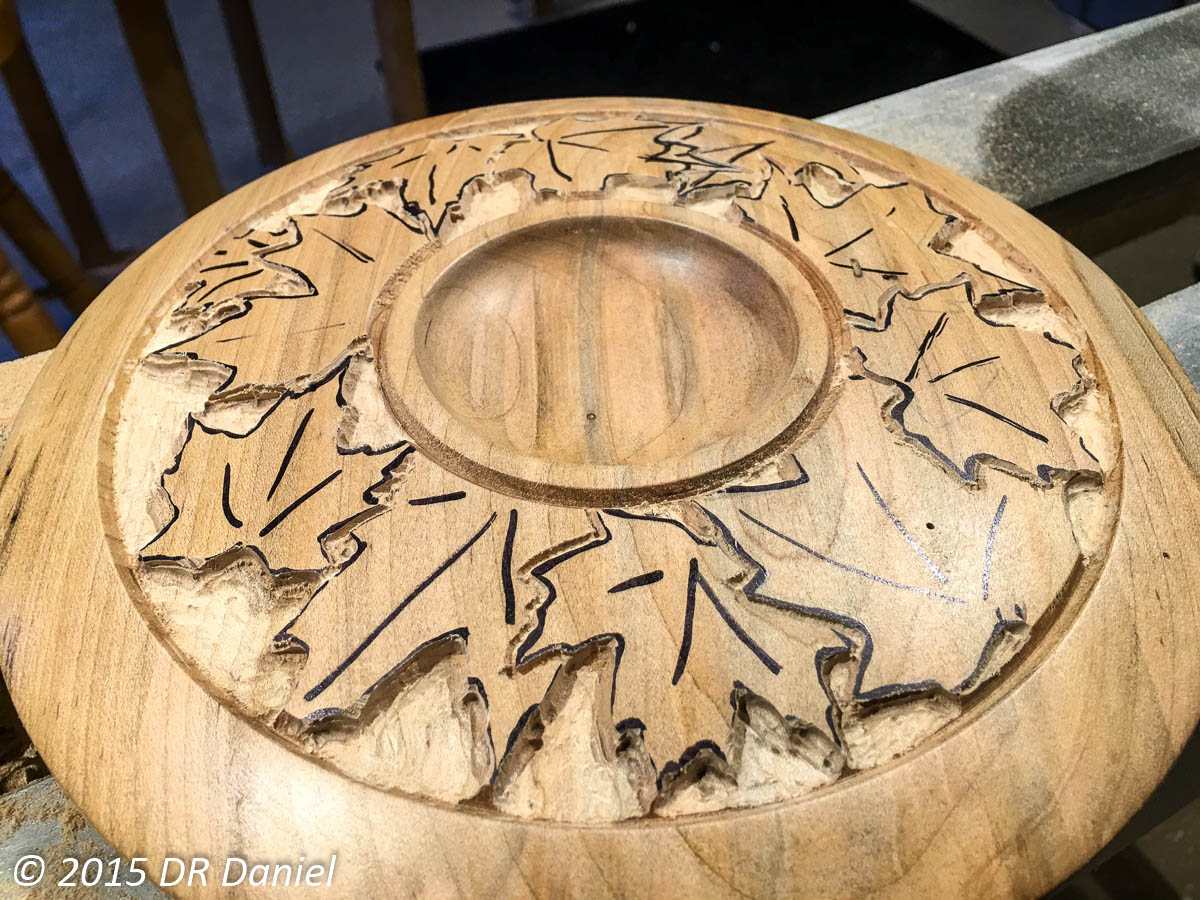 Return with the fine burr and clean up the edges. Precision isn’t necessary, but try to get the edges as close to perpendicular as possible. The whole process, including taking some pictures for this article, took about an hour.
Look for the next part – Maple Leaf Carved Bowl – Making it Three Dimensional next month.